Showing posts with label jewellery. Show all posts

Sunday, 27 March 2011

Hand Chains

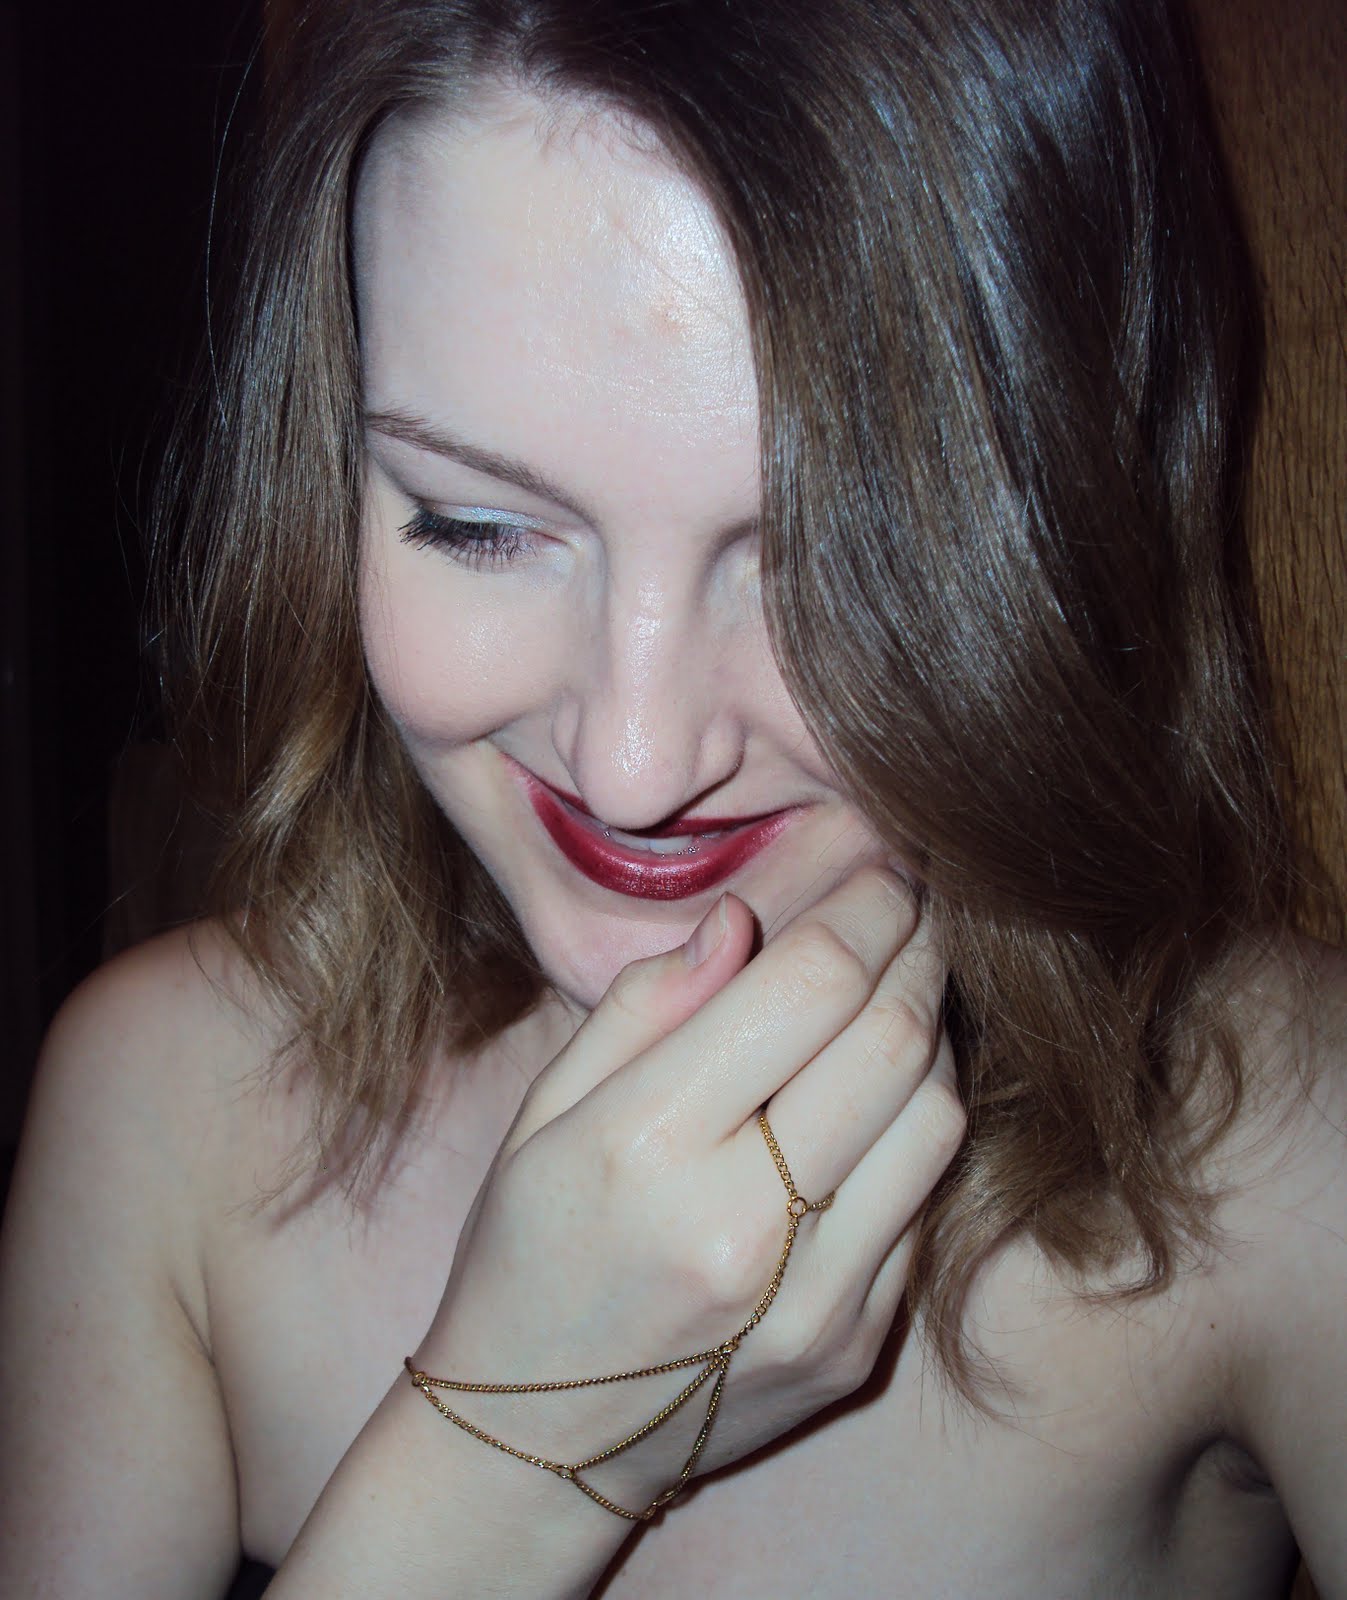
Hand chains I made before christmas. 'And you're only just posting them?' I know! This blog is neglected. The once a week posting routine is working out pretty well for me though. How is it for you? I made them using chains, one thin gold, the other a mid thickness silver, jump rings and magnetic claps making it easy to get them done up around the wrist but meaning I spend a lot of time detaching myself from metallic objects.

p.s. I'm not naked in these photos. Just wearing a strapless top.

Saturday, 8 January 2011

Hand Made Christmas Year Two

I know I'm super late with this. My blog has really been going to the dogs lately and I'm getting kind of sick with starting every post with an apology so I'm not going to anymore. I'll post when I post, no apologies. Anyway, remember how last year I tried to have an 'ethical' christmas? If not read about it here, here, and here. This year I did buy alot of my presents (yes, I tend to be more 'ethical' when I am sort of cash) but I still decided to hand make or bake presents for some of my friends and family.

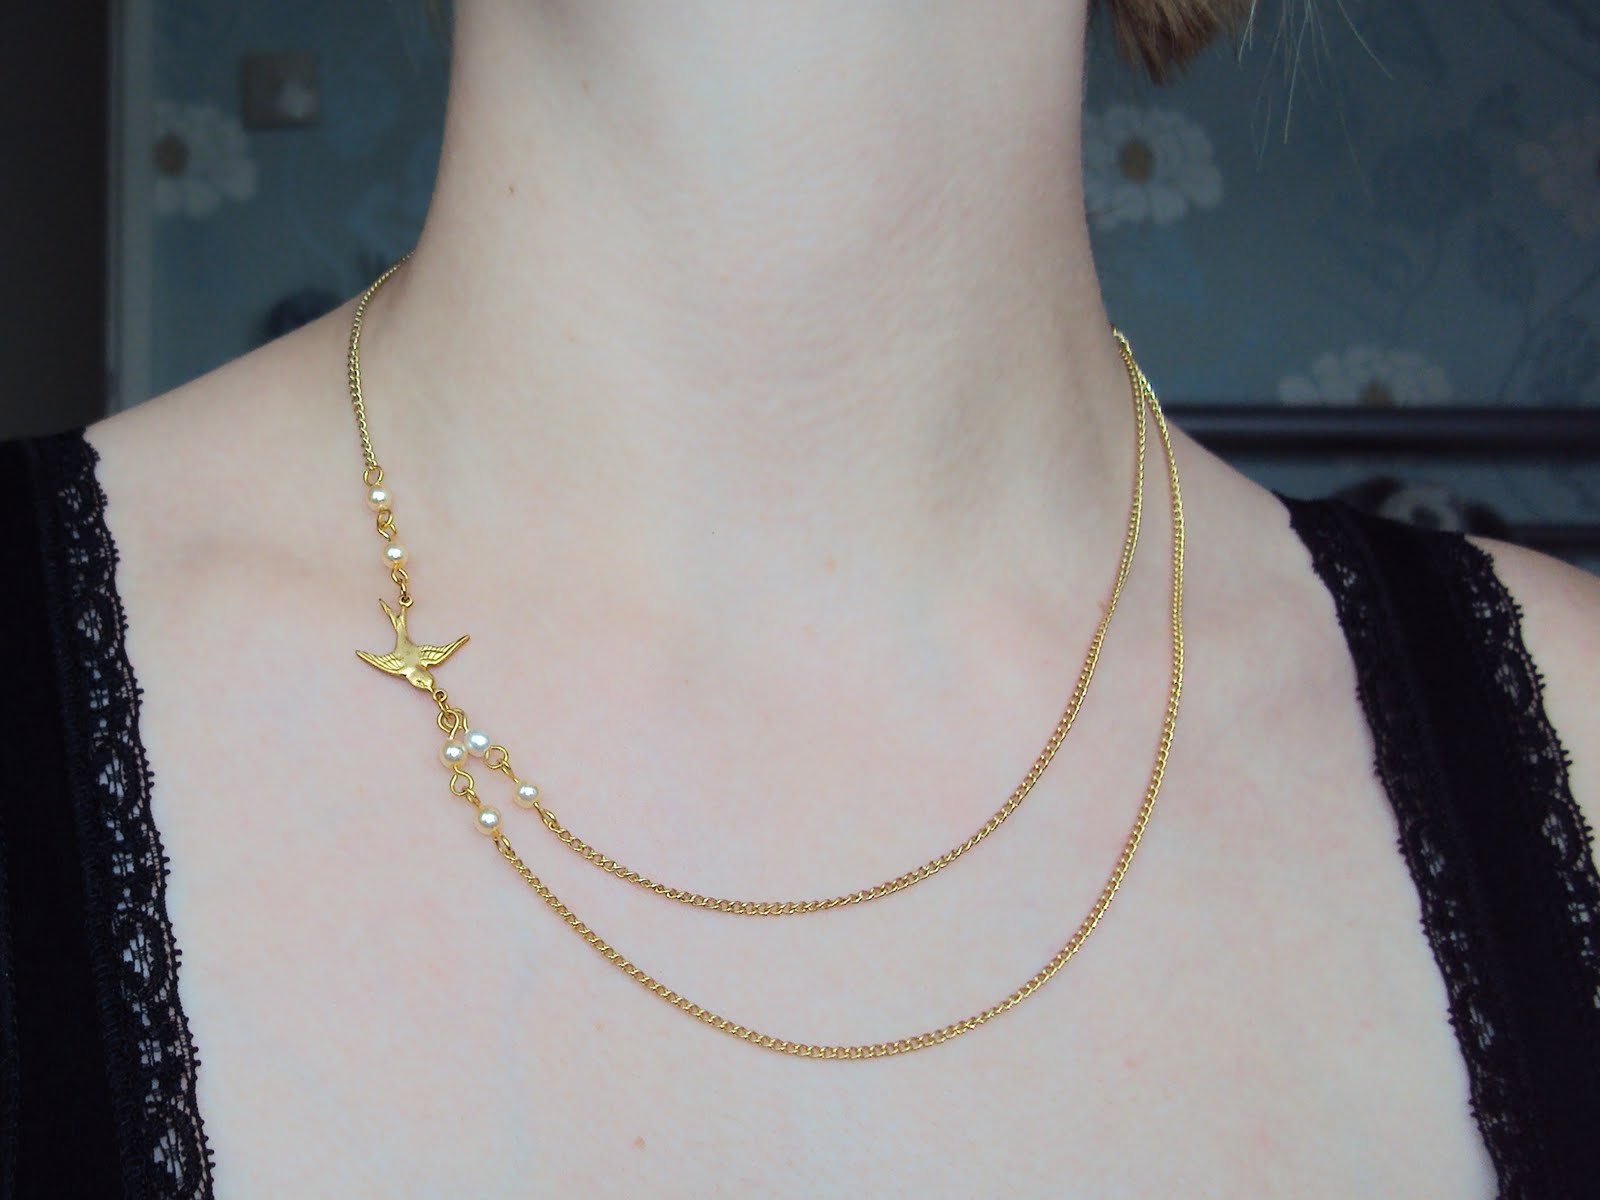
The necklace below was a gift for a friend. I think my jewellery making has come a long way from sticking bits of puzzle together last year.


I also made necklaces for three other friends and my nanny (grandmother) but I didn't actually finish them all or have any wrapped until New Years Eve when I was due to hand them over and in the rush I forgot to take pictures. The necklace I made for one of my best friends was a shorter version of this one because we are like peas in a pod :) Another was a version of this necklace using a heart charm instead of a locket. For the third friend I made a version of this necklace minus the bow using bronze chain and the bronze coloured pearls from a necklace in this post and it was much shorter, so totally different really. For my nanny I made her a long gold necklace with this charm from the bead shop. She had a stroke around a year ago and lost the feeling in her fingers so she can no longer work the clasps on necklaces and can only wear ones that she can put over her head.

My aunts, uncles and cousin were again 'treated' to my home baking. This year I made oat cookies (though they came out hard more like biscuits) in plain, raisin and dark chocolate chip.
Saturday, 7 August 2010

Charity Shop Jewellery

Pearl Necklace £1.50, It's pretty short so I plan on using the beads to make a longer necklace.
Green Glass Pendant on Triple Chain £2.00
Cross Pendant on Chain £2.00
Triple Bar Pendant with Chain £1.00
Both Gold Necklaces £2.00 each

I'm supposed to be expanding my collection of rings and bracelets but I just can't resist a secondhand necklace.

Please excuse my attempt at being artistic with my photography.

Monday, 2 August 2010

Green Tea

Another gift for a friends birthday.

Vintage Chain, Tea Cup Charm from crotchetynoodnick on Etsy, Green Bead from The Bead Shop.

Friday, 9 July 2010

DIY Body Armour

No I did not spend a very large amount of money, I made it, and yes it is a total rip off inspired by this piece from Armour and at $275 compared to the £5 this cost me in materials who can blame me? The original uses heavier chains which means that it sits better as the smaller chains do not pull the neck piece off to the side but I can live with that.

The back is kinda boring but there are no pictures of the back of the original so I figure it's the same. I conculed that a load of chains down the back would inhibit arm movement and interfere with taking it on and off.

I'm loving this little DIY of mine. It's actually way more wearable than I thought I would be. I wore it out for drinks and dancing with my friends and it didn't slip about and annoy me like I thought it might. I just had to remember to wear my bag on a different arm. My little country hometown remained as fashion ignorant as ever and no one even gave it a second look which was kinda disappointing but if your the kind of person that doesn't like to stand out too much then that's proof that you could still wear this.

Now this isn't really a tutorial because I didn't take any pictures of the process. I got too wrapped up in making it and a lot of making it required the use of two hands, but if you understand the very basics of jewellery making then it is easy to do. In fact even if you don't understand the basics you can do it. All you need to know how to do is how to join two elements of the piece together using jump rings. Which is very simple, check out this and/or this to help you out.

Okay then, you'll need.
  • 1 meter of large chain
  • 1 to 2 meters of smaller chain depending on how long/how many small chain links you want. I used just over 1 meter.
  • one large clasp
  • a lot of jump rings
  • chain/wire cutters. If you don't have special jewellery ones you may be able to find some around the house in mum/dads/yours/your other halfs tool box.
  1. Take the large chain and drape it around you neck to determine what length you want it. Cut to length.
  2. Attach the clasp to one end of the neck chain using a jump ring.
  3. Drape the remainder of the large chain around your arm and shoulder. Determine length and cut.
  4. Attach ends of the arm chain together using a jump ring.
  5. For the next steps a dress form or a volunteer would come in very useful but you could keep taking it on and off yourself.
  6. Decide how far apart you want your arm chain from your neck chain at the top of your shuoulder. Cut a piece of small chain to length and attach it to the neck and arm chains using jump rings.
  7. Next determine the length and drape that you want for the bottom chain at the front of your jewellery. Cut small chain to size and attach with jump rings.
  8. Now work your way back up the front of the body from the bottom small chain to the shoulder. Space your small chains evenly (or not if you want) I attached one on every other link of the large chains. Make sure that as you attach them the large chains haven't twisted and that you are always attaching the small chains on the same sides of the large chains.
  9. I also added a few lengths of small chain down the back to stop the arm chain sliding off. This is was very trial and error just keep trying it on and moving about until you get it right.
  10. Wear with pride. To get it on you put your arm through the arm chain and pull up to your shoulder then do up the neck chain.
I hope that was clear. Sorry for so many words and no pictures. Any qustions please ask.

Monday, 5 July 2010

Necklaces for Other People

Some more necklaces that I have made as birthday gifts. Sorry I couldn't get any photos of them on but I totally forgot to take any pictures after I made them. Had to steal them back for a moment after they'd been unwrapped to take these snaps.

Wednesday, 23 June 2010

Smile!


This is another necklace made as a birthday gift for a friend. This friend loves taking pictures, hence the camera charm. She has an informal role as the photographer at all of our parties and nights out. Plus her Canon camera is so much better than anything else owned by our group. I made it so that the charm can be removed from the beaded chain and hung on a different one to suit a mood or outfit.

I hope none of my friends mind me posing in their presents before I give them to them.

Monday, 14 June 2010

Winging My Way to You

I made this necklace as a gift for a friends birthday. Sadly it was late getting to her as the extension chain I needed to finish it was out of stock. Mind you she was lucky to get it at all as I liked it so much I nearly kept if for myself.

Monday, 31 May 2010

A Nice Cup of Tea


I've been stocking up on jewellery making supplies again. This time my purchases included these cute little teacup and saucer charms from Crotchety Noodnick on esty. I have some designs in the pipeline for them but at the moment I like to wear one on a separate chian along with my teapot.

Thursday, 20 May 2010

By Popular Demand

(okay two comments)


A picture of the tiny charm necklace from Wednesdays post being worn.

Wednesday, 19 May 2010

Tiny Charm - A Jewellery Post

I originally paired these beads with the floral locket from this post but it wasn't right so I decided to use them alone with a thin gold chain I already had. It looks cute with my work blouses.

Friday, 14 May 2010

Blue - A Jewellery Post


I bought this little blue necklace at the Break charity shop for one whole pound. The chain was ridiculously short. Couldn't get it around my neck short. So I cut it off and attached some longer pieces of gold chain left over from my jewellery making. Volia!

Sunday, 9 May 2010

Peas in a Pod - A Jewellery Post

This necklace is a shameless rip off of was inspired by this one from Eclectic Eccentricity. My charms are much smaller and arranged in a different manner. What I love most about it is the cute idea or story of being 'peas in a pod'. The pea pod charm is from WinterRoseDesigns on Esty and the beads, chain and findings from The Bead Shop.

Thursday, 6 May 2010

Love Hurts - A Jewellery Post

My original design for this necklace also included a little red bead but once I'd made it I thought it was a bit much. The pistol charm comes from Bella Bohemian on Etsy. The heart charm and findings are all from The Bead Shop.

Friday, 30 April 2010

Give Me Your Hand - A Jewellery Post

A very simple piece. I like how the single hand is kind of creepy. The charm comes from WinterRoseDesigns on Esty.

Monday, 26 April 2010

Little Bird in the Garden - A Jewellery Post

My original plan for this piece had been to use a watch face as the pendant. It was going to be called 'flying on time' or something like that but I couldn't find any that I liked. I ended up finding this locket with floral cameo in the Break charity shop for £2. The swallow connector is from WinterRoseDesigns on Esty and the chain, findings and glass pearls are from The Bead Shop. I think it is a very pretty little piece though maybe a little fussy for some.

Wednesday, 21 April 2010

Do You Love Me? - A Jewellery Post

Another piece of jewellery made by me. Spinner pendant from Tulle on Esty. Chain, clasp and fimo flower bead from The Bead Shop. The arrow does actually spin around. With the flower in the way it tends to naturally settle on 'no' but I love it even if it doesn't love me.

Saturday, 17 April 2010

The Key to my Secrets - A Jewellery Post

The first in a series of several posts showcasing the jewellery I have been making recently.

A locket, key and small glass pearl on a long gold chain. The Key charm comes from WinterRoseDesigns on Esty and the locket and glass pearl are from The Bead Shop.

I got these adorable charms from The Bead Shop and I'm adding them to the clasp of all the necklaces I make. I think they add a little something special.

Monday, 12 April 2010

Jewellery

After making the Ruffles and Stuff necklace jewellery has been my new thing.

Firstly I repaired this pendant that was given to me by my grandmother. It is ivory and I always feel guilty about wearing it.

Well repaired may be a bit of a stretch. I painted on a new foot with nail varnish (which doesn't even match) and then went over his other foot with the same colour. I've probably ruined it.

Next I bought these charms from the bead shop, attached jump rings and instantly had three new necklaces. I wore a tea pot to work last week.

This was another piece given to me by my grandmother. It is a heart shaped locket and I've had it years. It still has a picture of my pony inside it. It had been missing a pendant carrier forever so I just attached a jump ring again.

Didn't make this one myself but bought it from the mind charity shop for £2. I like it because it is shiny!

Friday, 9 April 2010

Ruffles & Stuff Necklace

Following this tutorial by Disney at Ruffles & Stuff I turned my hand to making myself a necklace. I am so pleased with the result. It was so easy to do and the materials are not that expensive. This necklace probably cost about the same amount, if not less, than if I had bought it on the high street but it's unique. Jewellery making might just be my next crafty craze.

Thanks Disney!

I made mine a little differently. I didn't have quite the right size and number of beads so I changed that around a bit and I added just one black bow instead of three pink ones.

p.s. Disney is probably one of the loveliest bloggers out there and her blog is full of cute projects if you haven't checked it out yet you should.